Table of Contents
- Start by Measuring Where Your Shop Loses Time
- Plan a Small Woodworking Shop Layout With Real Dimensions
- Small Woodworking Shop Organization: Storage That Pays for Itself
- Woodworking Shop Workflow: Cut Setup Time and Rework
- Woodworking Shop Safety Checklist for Compact Spaces
- Woodworking Tool Maintenance and Dust Collection
- Low-Cost Improvements Ranked by Impact
- Frequently Asked Questions
Last Updated: October 18, 2026
Start by Measuring Where Your Shop Loses Time
Improving efficiency in small woodworking shops starts with a stopwatch, not a shopping cart.
Most owners guess at their bottlenecks, blaming the table saw and buying a fancy blade. The real time sink is often walking, hunting for a pencil, or re-cutting a part.
Track these three things for five working days:
- Walk time: steps between bench, saw, and assembly
- Search time: minutes lost looking for tools or offcuts
- Rework time: parts cut twice or scrapped
A clipboard or phone note works: log start and stop times, then add them up on Friday.
Time yourself on one repeatable job, like cutting cabinet sides. Run it three times, average the result, then re-time it after your layout changes. That before-and-after number is the only proof that matters.
Plan a Small Woodworking Shop Layout With Real Dimensions
A workable small woodworking shop layout needs clear floor space around each machine, not just space for the machine itself.
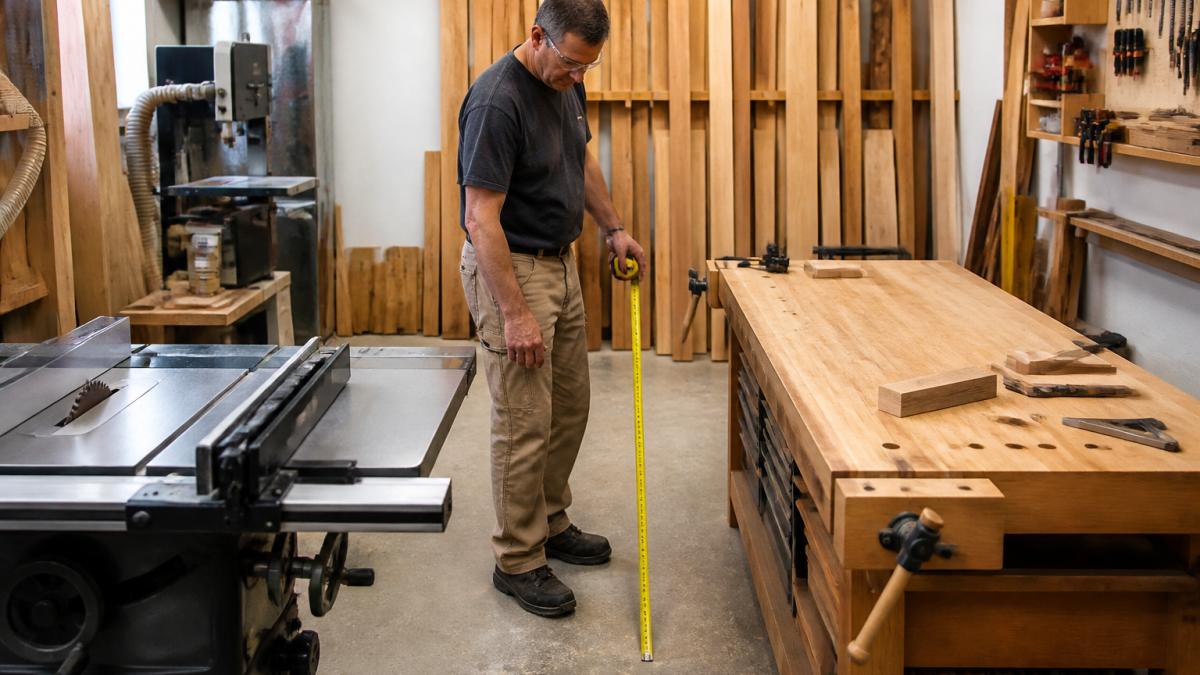
Grab a tape measure and painter’s tape. Mark every machine’s footprint, then walk the gaps. If you have to turn sideways, the gap is too tight.
Standard clearances worth taping out:
- Table saw: 2.4 m of infeed and outfeed for sheet goods
- Miter saw: 1.2 m either side for long trim
- Assembly table: 750 mm of walk-around space on all sides
Map the Work Triangle: Saw, Bench, Assembly
The work triangle is the path material takes from rough cut to finished part. Keep the table saw, workbench, and assembly area close together and free of storage. Draw it on paper, check the real distances on your floor, and rearrange if it crosses your main walkway, traffic and work should not share a lane.
Machine Placement and Material Flow
Put machines in the order material moves. Sheet goods get broken down first, so the saw belongs near the door where lumber and plywood come in. Assembly sits at the end of the line, away from dust. Match the room to your jobs, a cabinet shop and a furniture repair shop need different layouts.
Placing the dust collector in the middle of the work triangle saves hose length but costs you floor space and adds noise at the bench. Run ducting overhead instead and keep the floor clear.
Small Woodworking Shop Organization: Storage That Pays for Itself
Small woodworking shop organization works best when storage goes up rather than out. Vertical storage and mobile carts free floor space, and floor space is what every small shop runs short of.
Vertical Storage, Mobile Carts, and Lumber Racks
Wall-mounted storage is the cheapest square footage you will ever gain. A sheet of plywood on French cleats holds hand tools, clamps, and jigs at eye level.
Store sheet goods upright in a rack with a lip, and keep offcuts sorted by length in labelled bins, short offcuts go in a bin by the bench, not in a pile on the floor.
A put-away routine matters as much as the rack: ten minutes each day beats an hour of searching every Monday.
Woodworking Shop Workflow: Cut Setup Time and Rework
A faster woodworking shop workflow comes from fewer setups, not faster hands. Every time you change a blade, reset a fence, or hunt for a push stick, the clock runs. The goal is to turn a day of small, interrupted tasks into a few long, uninterrupted runs.
Count Your Setups Before You Change Anything
A setup is any change that stops production: swapping a blade, moving a fence, changing a router bit, resetting a dado stack, or clearing a bench. Tally every setup for one project, most small-shop owners find 20 to 40 per furniture piece, each costing several minutes plus re-checking accuracy. That tally is your baseline. After you reorganize, run the same project and count again; the difference times your average setup time is the real saving.
Batch by Machine, Then by Material
Batch your work by machine: cut all parts at the table saw in one session, then move to the router table, then assembly. This one habit cuts setup time more than any tool purchase. Go one step further and batch by material size, sheet goods one day, solid stock the next. Switching material types forces the resets that eat your day, so grouping lets you leave the saw set up once and run everything through it.
A practical sequence for a cabinet or shelving project:
- Break down sheet goods at the saw with the crosscut sled and ripping fence set once.
- Run all solid-stock parts through the planer and jointer in a single session.
- Cut joinery at the router table with one bit change per joinery type, not per part.
- Sand everything in one pass with the same grit before changing abrasives.
- Assemble in a cleared zone with clamps already staged.
Adapt the Workflow to the Project Type
Match the sequence to your jobs, not to a photo of someone else’s shop.
- Cabinetry and sheet goods: keep the saw near the door, stage full sheets on a cart, and cut a nesting plan on paper first. Long parts need infeed and outfeed support, so clear that lane first.
- Furniture and solid stock: mill in batches, let parts acclimate, and keep the jointer, planer, and table saw in a tight sequence so rough stock moves in one direction.
- Small objects and turnings: setup dominates. Keep a second, smaller bench or a dedicated lathe station so you are not clearing a large assembly table for every small job.
Attack Rework at the Source
Rework is the silent killer. Most of it comes from three sources: measuring from the wrong reference edge, cutting without checking the blade angle, and skipping a test cut on scrap.
Track rework separately from setup: write down each part cut twice or scrapped and the reason. After a month, patterns appear, one machine out of alignment, one slipping fence, one costly habit.
Group jobs by machine and by material size. Sheet goods one day, solid stock the next. Then count setups before and after. Fewer setups and less rework are the two numbers that prove your workflow change worked.
Woodworking Shop Safety Checklist for Compact Spaces
A woodworking shop safety checklist for a small shop focuses on clearance, dust, and electrical load. Tight quarters raise the risk on all three.
- Clear 900 mm around every machine in use
- Check that push sticks and guards are within reach
- Confirm the dust collector is running before the first cut
Ergonomics matter in a compact shop. Set your bench height so your forearms sit level; a low bench causes back strain by mid-afternoon. Add anti-fatigue matting where you stand most.
Electrical safety is easy to overlook. The Canadian Centre for Occupational Health and Safety publishes guidance on workshop electrical safety and machine guarding that is worth reading before you rewire anything.
Woodworking Tool Maintenance and Dust Collection
Woodworking tool maintenance protects both your accuracy and your lungs. A dull blade burns wood and forces you to push harder, which raises the risk of a kickback.
Keep a simple maintenance log:
| Task | Frequency | Time Needed |
|---|---|---|
| Clean and wax table saw top | Weekly | 10 minutes |
| Check blade sharpness | Monthly | 5 minutes |
| Inspect belts and brushes | Quarterly | 20 minutes |
| Empty dust bags and clean filters | Weekly | 15 minutes |
| Check ducting for leaks | Twice a year | 30 minutes |
| Lubricate raise and tilt mechanisms | Quarterly | 15 minutes |
Dust collection deserves real attention. Fine dust is the biggest health hazard in a woodshop, and a shop vacuum alone will not keep up with a planer or table saw.
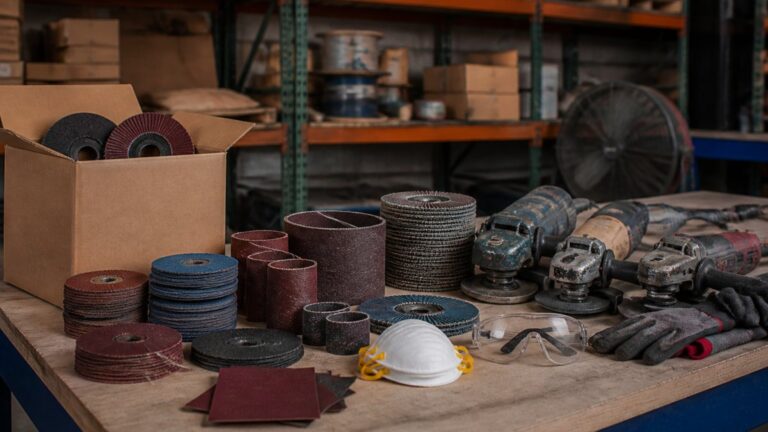
Keep sanding discs, belts, and abrasives on hand so a worn pad never stalls a job, running out mid-project is a classic small-shop delay.
Set a recurring order for the abrasives you burn through fastest. At IBEX Enterprises, our subscription shipments keep shops stocked without a weekly purchasing task, and purchase order payment keeps accounting happy.
Low-Cost Improvements Ranked by Impact
Rank your improvements by cost, effort, and expected time saved before you spend a dollar. Most small-space solutions cost little and deliver more than a new machine, score each idea the same way.
Score Each Improvement Before You Build It
For every candidate change, write down four things:
- Cash cost: materials and tools, in CAD
- Effort: hours to complete, including cleanup
- Expected time saved: minutes per week, based on your own tracking
A change that costs little, takes an afternoon, and saves 30 minutes a week pays back fast. One that costs more than a mid-range power tool and saves five minutes a week may still be worth it, but know that before you start.
A Practical Ranking, Cheapest First
- Declutter and label bins (lowest cost, high impact): clears floor space and ends search time. Start with the bench and the offcut pile.
- French cleat wall storage (low cost, high impact): moves hand tools off benches and puts them at eye level. One sheet of plywood on cleats holds clamps, jigs, and frequently used tools.
- Batch scheduling by machine (no cost, high impact): reduces setup time without buying anything, the highest-return change on the list because it costs only discipline.
- Locking casters on carts (low cost, medium impact): frees floor space between jobs and lets you roll the planer or sander to the work instead of carrying stock to it.
- Better lighting (low cost, medium impact): cuts eye strain and mistakes. Task lighting over the bench and saw often reduces rework more than a new blade.
- Dust collection upgrade (higher cost, high impact): improves air quality and machine performance. Do this after the cheap wins, because a cleaner, less cluttered shop makes the ducting layout easier to plan.
Start at the top. The first three items cost little or nothing and often return more than a new machine.
Measure the Payback, Not Just the Purchase
Before you start, re-time the repeatable job you tracked at the beginning, cutting cabinet sides, for example. Run it three times and average the result, then repeat after each improvement.
Keep a running log of changes, costs, and measured time saved. Over a year, it shows which improvements actually moved the needle.
Do the free changes first. Batching by machine and decluttering cost nothing but an afternoon, and they make every later purchase easier to justify because you can see the before-and-after numbers.
For maintenance and inventory routines, a fixed weekly slot works better than good intentions. Fifteen minutes every Friday to sweep, empty bags, and reorder consumables keeps the shop running. Our team at IBEX Enterprises built our ordering dashboard around that idea: rapid reordering from a personalized list, so restocking takes minutes instead of an afternoon.
Measure again after each change. Re-time that repeatable job from step one and compare.
Frequently Asked Questions
What are the best ways to improve efficiency in a small woodworking shop?
Start by timing your current process for a week: how long setup, material handling, and cleanup actually take. Then fix the biggest time sinks in order. Most small shops gain the most from grouping the table saw, workbench, and assembly area within a few steps of each other, moving tools to wall-mounted or mobile storage, and standardizing one put-away routine at the end of each day. Measure again after four weeks so you can see which changes paid off and which did not.
How should you organize a small woodworking shop to save space?
Use vertical storage first. Wall-mounted racks for clamps and hand tools, a tool cabinet on casters, and lumber stored on end or in a rack along a wall free up floor space for movement. Keep sheet goods on a mobile cart so you can roll them to the saw instead of carrying them across the shop. Group supplies by task so a sanding or finishing job needs one trip, not four. A put-away routine at the end of each shift keeps the organization from collapsing.
How can a small woodworking shop reduce setup time and rework?
Batch similar operations. Cut all parts for a project before switching the saw, and keep a dedicated crosscut station so you are not reconfiguring the table saw for every trim cut. Label stop blocks and jigs so they go back to the same setting. Check the first piece against the drawing before running the batch, which catches errors while they cost one part instead of twenty. A written woodworking shop workflow for each project type keeps the sequence consistent.
What safety practices keep a woodworking shop running efficiently?
A short daily woodworking shop safety checklist does more for uptime than a long annual review. Clear offcuts and dust from walkways before each shift, confirm guard and riving knife positions, check that dust collection is connected and the bin is empty, and keep push sticks within reach of every saw. Store finishes and solvents in a closed cabinet away from ignition sources. Fewer slips, jammed machines, and fire risks mean fewer unplanned stops.
A small shop will always be small. That does not mean it has to be slow. Measure your losses, tape out a real layout, and fix the cheap problems first. When restocking abrasives and supplies becomes the bottleneck, IBEX Enterprises can help: recurring shipment subscriptions, purchase order support, and rapid reordering from your dashboard keep your shop stocked and running. Request a quote and see how much ordering time you get back.