Table of Contents
- Why Custom Abrasive Configurations Matter in Metal Fabrication
- Abrasive Grit Guide for Metal: Matching Grit to Operation
- Metal Grinding Discs: Types, Specs, and When to Use Each
- Flap Discs for Weld Grinding: Setup and Operating Parameters
- Stainless Steel Finishing Abrasives: Avoiding Contamination and Rework
- Safety, Dust, and Heat Management with Custom Abrasive Configurations
- Cost, Testing, and Procurement of Custom Abrasive Configurations
- Conclusion
- Frequently Asked Questions
Last Updated: October 19, 2026
Why Custom Abrasive Configurations Matter in Metal Fabrication
Custom abrasive configurations for metal fabrication pair abrasive type, grit, backing, and tool setup to a specific metal, operation, and finish target. This approach costs real money. A disc that cuts too slowly adds labor hours to every weld; one that cuts too aggressively creates rework you pay to sand out. Neither shows up as a distinct line item.
The solution is a written configuration per operation: metal, machine, grit sequence, pressure, and speed. Below, we cover grit selection, disc types, flap disc setup, stainless handling, and the safety and cost aspects.
Treat abrasives as tooling, not consumables. A specified configuration per operation is the single highest-impact change most fabrication shops can make to their grinding line.
Abrasive Grit Guide for Metal: Matching Grit to Operation
Grit selection follows the operation, not just the metal. Coarse grits remove material and heat fast; fine grits refine the finish with less stock removal per pass. Skipping a grit step is the most common cause of swirl marks and wasted discs.
Think in sequences, not single discs. A typical carbon steel weld goes through a coarse cut, a blend, and a finish pass, each removing the previous step’s scratches.
| Operation | Typical Grit Range | Purpose | Common Mistake |
|---|---|---|---|
| Heavy stock removal, weld knockout | 36-60 | Fast material removal | Jumping straight to 80 |
| Weld blending, edge cleanup | 60-80 | Level the bead, remove cut marks | Too much pressure, glazing |
| Surface refinement | 120-180 | Remove previous scratches | Skipping a step |
| Finish prep before coating | 220-320 | Uniform scratch pattern | Over-polishing soft metals |
| Stainless cosmetic finish | 180-400 (stepped) | Grain consistency | Cross-contamination |
The grit guide for metal is not universal across alloys. Aluminum loads discs quickly and benefits from stearate-coated products and lighter pressure. Carbon steel tolerates aggressive grits. Stainless steel sits in between but punishes contamination.
Write the grit sequence on a card and tape it to each grinding station. Operators stop guessing, and you can audit whether the sequence was followed when a finish complaint arises.
Metal Grinding Discs: Types, Specs, and When to Use Each
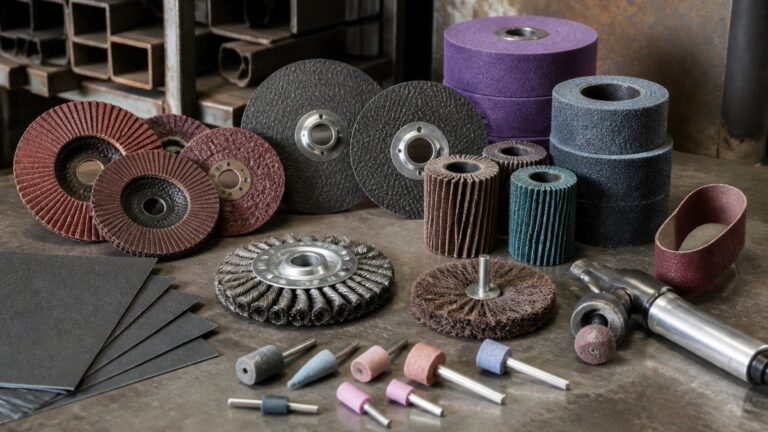
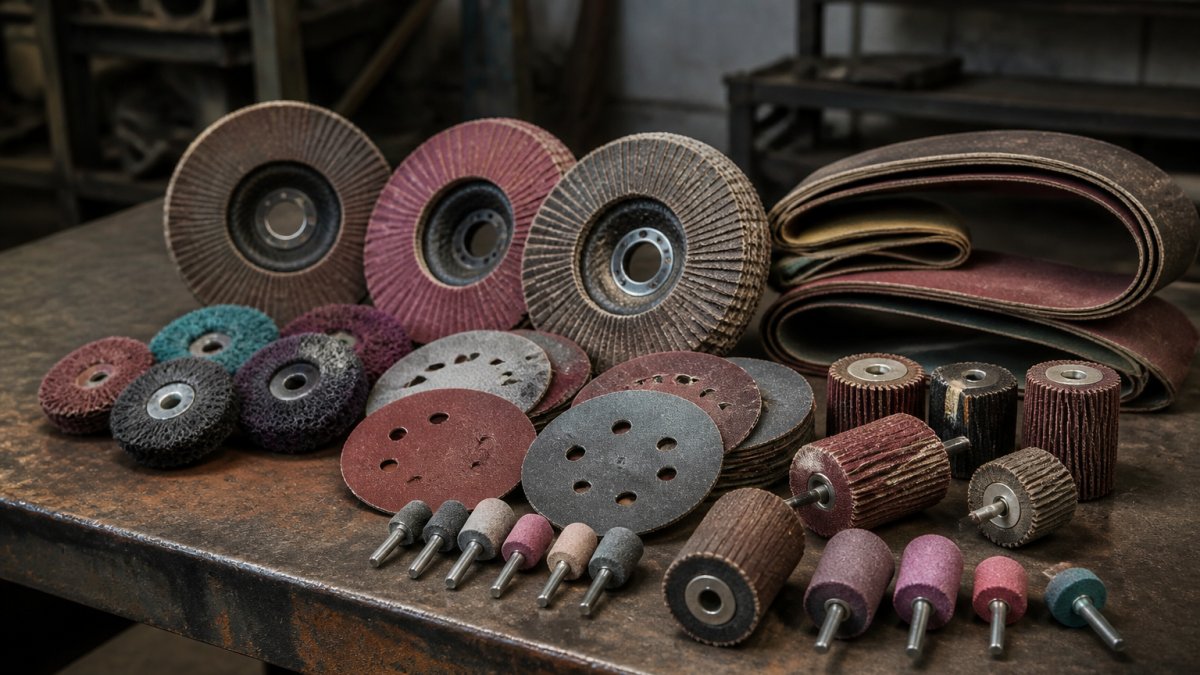
Metal grinding discs fall into three families: bonded (resin and vitrified), coated (flap and fiber), and diamond/CBN for hard or specialty work.
Coated fiber discs sit between bonded wheels and flap discs: they offer a high removal rate and are good for weld leveling on flat plate, but are less forgiving on contours.
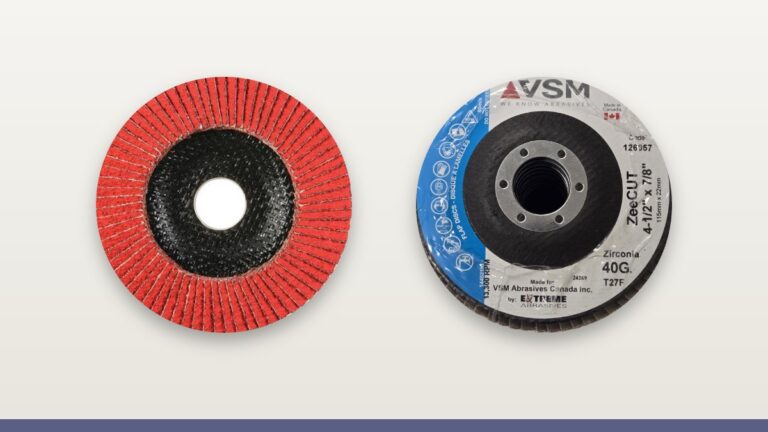
Flap discs blend and finish in one pass, which is why they dominate weld grinding in most fabrication shops.
Specs that matter when you configure an order:
- Diameter and arbor: These must match the grinder, not just the job. A 115 mm disc on a 125 mm grinder is a safety issue. Common sizes are 100, 115, 125, 180, and 230 mm, with a 22.23 mm arbor.
- Max RPM: This rating must exceed the tool’s no-load speed. Check the label, not the catalog photo; a 115 mm grinder often runs at 11,000 rpm no-load.
- Backing type: Fiberglass provides rigidity for weld leveling, while plastic or composite offers flexibility for contours.
- Type 27 vs Type 29: These refer to flat vs. angled discs. Type 29 suits weld blending at shallow angles better because the angled face puts more abrasive on the contact patch at the working angle.
- Grit and coating: Closed-coat products cut faster and load more on aluminum; open-coat products resist loading on soft, gummy metals.
- Bond or cloth grade: Specify the bond letter for bonded wheels and the cloth type for flap discs so a substitute product does not quietly change performance.
A configuration table at the purchasing desk prevents the most common failure: a rush-order substitute that meets diameter and grit but not bond, backing, or RPM rating.
Running a disc rated below your grinder’s no-load RPM is one of the most common causes of disc failure injuries in fabrication shops. Check the rating on every box, every time, especially when a substitute product arrives on a rush order.
Flap Discs for Weld Grinding: Setup and Operating Parameters
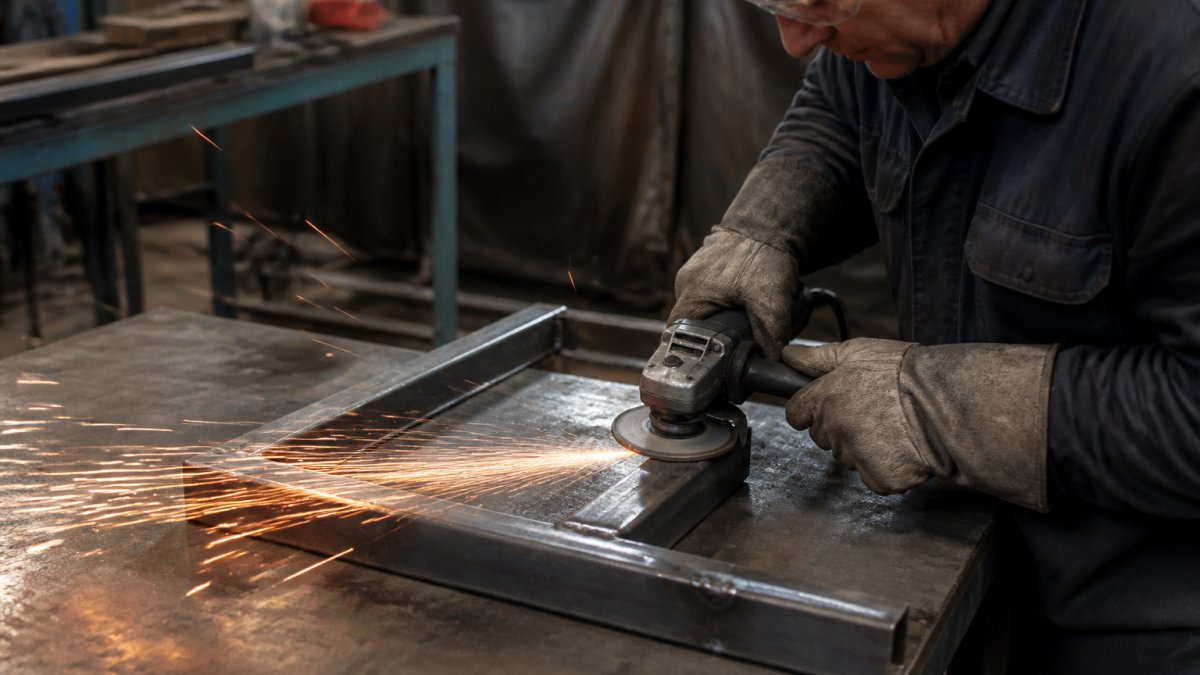
Flap disc performance depends more on setup than on the disc itself. The same disc run at the wrong angle or pressure will glaze, load, or wear unevenly.
Setup sequence we recommend:
- Match the disc to the grinder. Confirm arbor size and RPM rating before mounting.
- Mount and check runout. Spin the tool in free air. Any wobble indicates a damaged disc or a bent backing pad.
- Set the angle. Run at 5-15 degrees to the work surface for blending. Flattening the disc increases heat and wear.
- Set the speed. Use the grinder’s variable speed if available. High speed on a fresh disc can burn edges.
- Control pressure. Let the disc do the cutting. Heavy pressure glazes the abrasive and loads the cloth.
- Track wear. Rotate discs between stations so one grinder does not wear a disc into a cone.
Operating parameters to specify per station:
- Target angle in degrees
- RPM range
- Expected disc life in hours or linear meters of weld
- Acceptable finish (visual standard or profile target)
Flap discs for weld grinding work best when the sequence is fixed and the operator is not improvising angle and pressure per part. This ensures a repeatable finish rather than one that depends on who is on shift.
Shops running mixed weld sizes on flat plate and mild contours. Flap discs cover both without changing tools, which shortens cycle time on small-batch fabrication.
Stainless Steel Finishing Abrasives: Avoiding Contamination and Rework
Stainless steel finishing fails for one primary reason more than any other: contamination. Carbon steel particles embedded in stainless steel rust weeks after the part ships, and the customer sees it, not you.
Contamination comes from three sources:
- Discs previously used on carbon steel.
- Brushes and hand tools shared between metals.
- Grinding dust settling on stainless workpieces from nearby stations.
The fix is physical separation. Dedicate abrasives, brushes, and hand tools to stainless steel and mark them clearly. Store stainless consumables in a closed container away from the general grinding bench.
Stainless steel finishing abrasives also require a different sequence: stepped grits, consistent direction, and no cross-direction passes.
Watch for heat. Stainless steel work-hardens and discolors under excessive heat, and heat tint is a rework trigger on cosmetic parts. Lower pressure, fresh discs, and shorter passes help keep the surface cooler.
One carbon steel disc used on a stainless steel part can embed enough free iron to produce rust bloom across the whole finished surface. The rework cost is the entire finish, not just the affected spot. Mark stainless-only consumables and keep them physically separate.
Safety, Dust, and Heat Management with Custom Abrasive Configurations
Safety in grinding is a configuration problem as much as a personal protective equipment (PPE) problem. The right disc, rated for the tool, run at the correct speed and angle, is inherently safer than the wrong disc run hard.
Dust control matters more than most shops realize. The Canadian Centre for Occupational Health and Safety guidance on metalworking fluids and dust is a practical starting point for shop-level controls.
Heat management follows three rules:
- Fresh abrasive cuts cooler. A glazed disc generates heat without removing material.
- Lower pressure, more passes. Heavy pressure is the fastest route to heat tint and warping.
- Match grit to the operation. A coarse disc on a finishing pass creates heat and scratches you then have to remove.
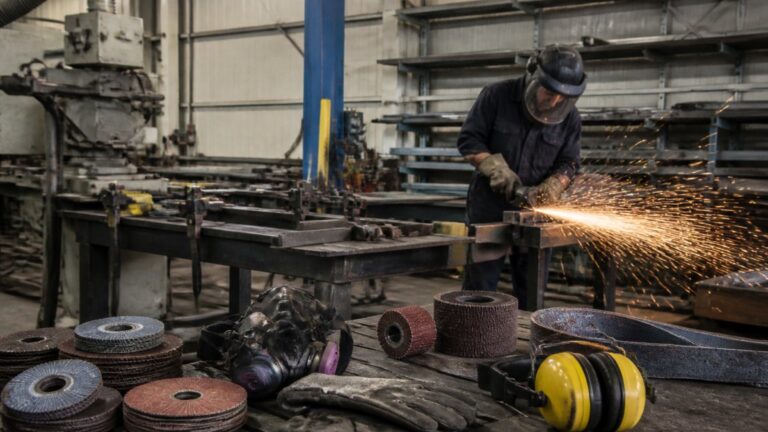
PPE is non-negotiable: a face shield over safety glasses, hearing protection, and gloves rated for the work. Respiratory protection depends on the metal and the ventilation. For a fuller picture of workplace requirements, WorkSafeBC’s grinding and abrasive wheel safety resources cover wheel inspection and guarding in detail.
Cost, Testing, and Procurement of Custom Abrasive Configurations
Cost per disc is the wrong metric; cost per finished part is the right one, and it usually favors the pricier consumable that cuts faster and lasts longer.
A simple test protocol settles most configuration debates:
- Pick one operation and one metal.
- Run three candidate configurations side by side for a fixed period.
- Record disc consumption, labor time, and rework per part.
- Measure the finish: surface roughness (Ra) with a profilometer or a comparator plate, stock removed per minute, edge condition, and cycle time per part.
- Calculate cost per finished part, not cost per disc.
- Standardize on the winner and write it into the work instruction.
Run this test quarterly on your highest-volume operation; abrasive technology changes, and a configuration optimal two years ago may not be optimal now.
Troubleshooting abrasive life. Most premature failures trace to a configuration or operating mismatch, and the symptom points to the fix:
- Loading (metal smeared across the abrasive): too much pressure, too fine a grit for the stock removal, or the wrong coating for aluminum. Switch to an open-coat or stearate-coated product and lighten pressure.
- Glazing (abrasive looks shiny and stops cutting): too much pressure or too high a speed on a hard bond. Use a softer bond or lower the speed.
- Burning or heat tint: a dull disc run hard, or a grit too coarse for the finishing pass. Replace the disc earlier and step the grit sequence.
- Uneven wear or coning: the operator is tilting the tool instead of keeping the disc flat at the working angle. Retrain the angle and rotate discs between stations.
- Premature failure or edge chipping: a disc run above its RPM rating or mounted with runout. Check the rating and the backing pad.
Set replacement criteria in the work instruction: a flap disc that no longer removes a scribe line in one pass, or a bonded wheel at minimum diameter, comes off the tool.
On procurement, the goal is consistency: a configuration only works if the same product arrives every time. Specify brand, product line, diameter, grit, backing, bond or cloth grade, and RPM rating on the purchase order, not just “flap discs, 115 mm.” Substitutions on rush orders are where configurations quietly break down.
This is where a B2B supplier built for purchasing professionals earns its place. You can review abrasive wheel safety fundamentals from the abrasive manufacturing industry as a cross-reference for wheel handling, though local provincial rules govern your shop.
Put the full specification on the purchase order: brand, product line, diameter, grit, backing type, bond or cloth grade, and max RPM. Vague line items invite substitutions, and substitutions are how a working configuration fails six months later.
Conclusion
The hardest part of abrasive specification is not choosing a disc, it is holding the choice steady across shifts, suppliers, and rush orders, when the easy move is to take whatever is in stock. That drift erodes finish quality and inflates cost per part.
IBEX Enterprises is built for exactly that problem. Our platform keeps your specified configurations on file, supports purchase order payments that fit your accounting process, and ships recurring orders automatically so the right disc shows up before the station runs dry. Request a quote and we will help you standardize the configurations that matter most on your floor.
Frequently Asked Questions
How do you choose the right abrasive for metal fabrication?
Start with the metal type, the operation (cutting, grinding, blending, or finishing), and the required surface finish. Match the abrasive grain to the metal: aluminum oxide for carbon steel, zirconia for heavy stock removal, and silicon carbide for stainless and non-ferrous metals. Then select the backing and disc style that fit your tool. Test a small batch before committing to bulk custom abrasive configurations.
Which abrasive is best for grinding welds?
Flap discs in 40 to 80 grit are the standard choice for weld grinding because they blend and finish in one step. For heavy weld removal, a 36-grit flap disc or a grinding wheel removes stock faster. Match the disc to the weld size and the finish required. Keep the grinder speed within the disc’s rated maximum and use light pressure to avoid heat buildup.
What abrasive should you use to finish stainless steel?
Use abrasives dedicated to stainless steel to prevent contamination. Silicon carbide or ceramic grains on non-woven or flap discs work well. Start with a coarser grit to remove scratches, then step through finer grits up to 400 or higher for a brushed or mirror finish. Avoid using discs that have touched carbon steel, as iron particles can cause rust spots.
When should you use a flap disc instead of a grinding wheel?
Choose a flap disc when you need to blend, smooth, or finish a weld with less gouging and a better surface finish. Grinding wheels remove material faster and are better for heavy stock removal or beveling. Flap discs also run cooler and produce fewer sparks, which helps with heat management. For most weld cleanup in custom metal fabrication, a flap disc is the more efficient second step after rough grinding.