
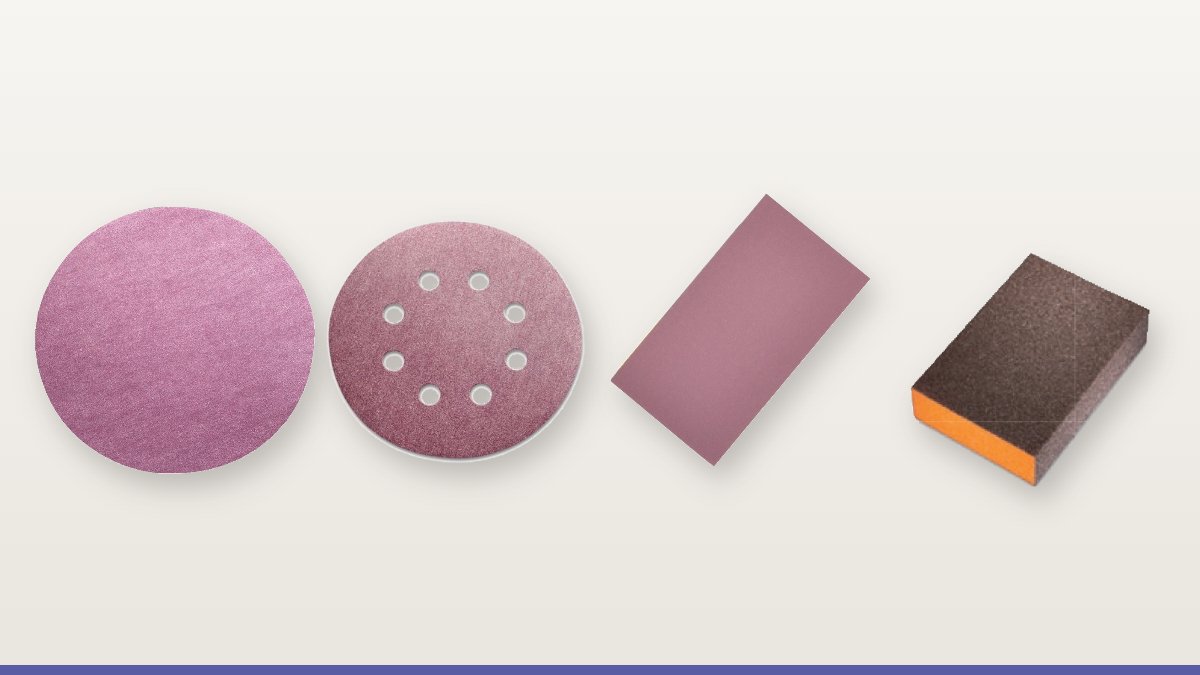
Pick the wrong sanding grit and you’ll either spend three times as long fixing the surface or commit a defect that the next coat won’t hide. Pick the right one and the work disappears under your hands. This guide is the explanation we give over the phone to customers who are working out a new abrasive workflow — distilled into one page, with the practical rules of thumb that actually matter.
We’ll cover the grit ladder (what each number does), how to plan a grit progression for the most common materials, and the mistakes that cost shops time and money. If you’d rather just talk it through, call us at 403-250-3399 and we’ll help you work out a grit ladder for your shop.
In this guide
What “grit” actually means
The sanding grit number comes from the screens used to grade abrasive grain: roughly, how many openings per linear inch the grain will pass through. A higher number means smaller particles and a finer cut.
Think of it as a continuum:
- 40–80 — coarse, aggressive material removal. You’re shaping the workpiece.
- 100–150 — medium, transitional. Smoothing out the marks left by the coarse grits.
- 180–240 — fine, finish-prep. Producing the surface a coating will stick to.
- 320–600 — very fine, between-coat or color sanding. You’re not removing material, you’re conditioning the surface.
- 800–1500 — ultra-fine, polishing. Mostly used in auto-body clearcoat work.
Different industries use different sub-ranges. A finish carpenter spends 95% of their time between 120 and 220. An auto-body refinisher spends 95% of their time between 320 and 1500. A heavy fabricator might never use anything above 80.
Sanding grit chart
| Grit | Grade | Wood | Metal | Paint and auto body |
|---|---|---|---|---|
| 24 to 36 | Extra coarse | Floor refinishing, heavy stripping | Heavy weld removal (fibre and flap discs) | Not used |
| 40 to 60 | Coarse | Shaping, removing old finish | Weld grinding, blending, stock removal | Rough filler shaping |
| 80 to 100 | Medium | First pass on rough stock | Rust and scale removal, pre-paint prep | Stripping to bare metal, shaping filler |
| 120 to 150 | Medium fine | Removing 80-grit scratches | Cleaner surface before finishing | Smoothing filler |
| 180 to 240 | Fine | Final sanding before stain or finish | Pre-paint scratch on steel | Feathering filler, primer prep |
| 280 to 400 | Very fine | Between coats of finish | Light finishing | Primer sanding before single-stage paint |
| 500 to 800 | Extra fine | Final between-coat scuff | Pre-polish | Primer before basecoat, blending |
| 1000 to 1500 | Ultra fine | Rubbing out a finish | Polishing prep | Colour sanding clear coat |
| 2000 to 4000 | Micro fine | Polishing high-gloss finishes | Polishing | Removing defects before compound |
Grits here are FEPA P-grades, the scale used by Sia, VSM, Mirka and Festool. North American CAMI numbers drift above 220; see the CAMI vs FEPA table below.
The cardinal rule: don’t skip more than one grit step
If you go straight from 60 grit to 220 grit, the deep scratches the 60 left behind will still be visible — the 220 doesn’t have enough cutting depth to remove them. They’ll telegraph through your finish, and you’ll be re-sanding the whole piece a week later when the customer notices.
The safe progression rule is one step at a time through the standard grit ladder:
40 → 60 → 80 → 100 → 120 → 150 → 180 → 220 → 320 → 400 → 600 → 800 → 1000 → 1200 → 1500
You don’t need to use every step. But you can’t skip more than one. Most professional progressions use every other grit on the ladder — for example, 80 → 120 → 180 → 220 — because each grit is roughly 1.5× finer than the previous one, and that’s the sweet spot for efficient material removal.
Grit progressions for common materials
Solid wood (furniture, cabinets, instruments)
Bare wood, before any finish: 80 → 120 → 180 → 220
That’s it. Going higher than 220 on bare wood actually hurts — it polishes the surface so smooth that stain won’t penetrate evenly, and you’ll get a blotchy finish.
Refinishing painted or weathered wood: 40 or 60 to remove the old material → 80 → 120 → 180 → 220.
Between coats of waterborne lacquer or varnish: 320 or 400 grit. Just a quick scuff to knock down dust nibs and give the next coat something to grab.
Metal — fabrication and welding
Weld grinding and stock removal: 40 to 80 grit on a flap disc or sanding belt. Stay aggressive.
Pre-paint surface prep on steel: 80 → 120 → 180. You want the surface tooth for paint adhesion, not a polished surface.
Stainless steel satin finish: This is where it gets specialized. After your initial cleanup, you switch from coated abrasives to non-woven surface conditioning wheels — fine, then very fine. Trying to satin-finish stainless with regular sanding discs leaves a directional scratch pattern that looks unprofessional.
Aluminum: Be careful with 40–60 grit on aluminum — it loads quickly because aluminum is soft. Lubricate with a stick lubricant or step up to 80 grit and stay there longer.
Auto-body refinishing
Stripping to bare metal: 80 grit with a sanding belt or DA, working slowly so you don’t burn through.
Smoothing body filler / Bondo: 80 → 120 → 180 → 220 → 320.
Primer prep before color coat: 320 → 400 → 600. Final pass is 600 if you’re going to spray a basecoat. 400 if it’s a single-stage.
Color sanding clearcoat (after curing): 1000 → 1500 → 2000 (or polishing compound from 1500).
This is where a dust-extracting random orbital, like the Festool ETS EC 150 running ultra-fine 1500-grit discs, earns its keep — the dust extraction prevents the rogue particle that ruins a panel.
Drywall finishing (commercial scale)
Single-pass on cured joint compound: 180 grit on a multi-hole 5″ disc.
For commercial volume work, that’s the entire workflow. You don’t need a progression — joint compound is soft enough that a single 180-grit pass produces paint-ready surface.
Coated vs. non-woven abrasives
Beyond the grit number, you also choose between two abrasive families:
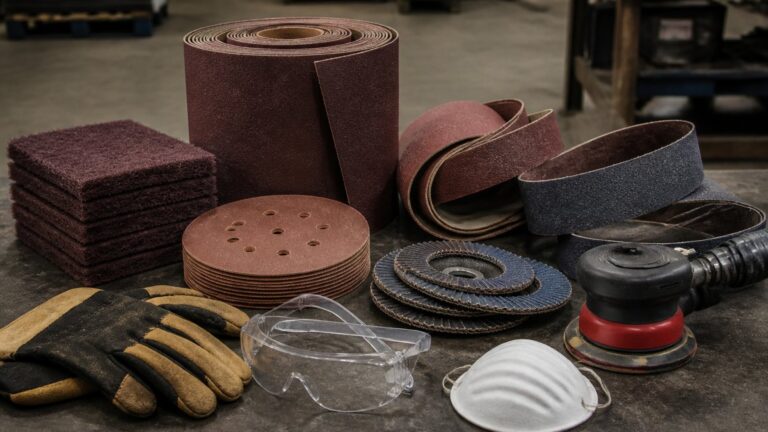
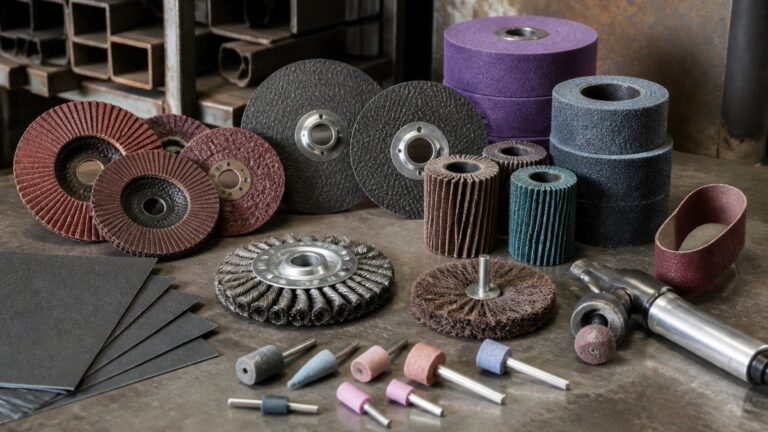
Coated abrasives (sanding discs, sanding belts, sandpaper sheets) — the abrasive grain is bonded to a backing in a single layer. Cuts fast, removes material aggressively, leaves a directional scratch pattern that gets finer as the grit climbs.
Non-woven abrasives (Scotch-Brite-style pads, Siaair wheels) — the abrasive is embedded in a 3D nylon mesh. Cuts slower, removes less material, leaves a uniform satin finish without directional scratches.
The simple rule: use coated for shaping and finish prep, non-woven for surface conditioning and final-finish polish on metal.
The four mistakes that cost shops time and money
1. Buying the cheapest disc. A $40 box of generic discs that load in 10 minutes costs more than a $70 box of Sia Siaspeed that cuts cleanly for an hour. Track cost-per-square-foot-sanded, not cost-per-box.
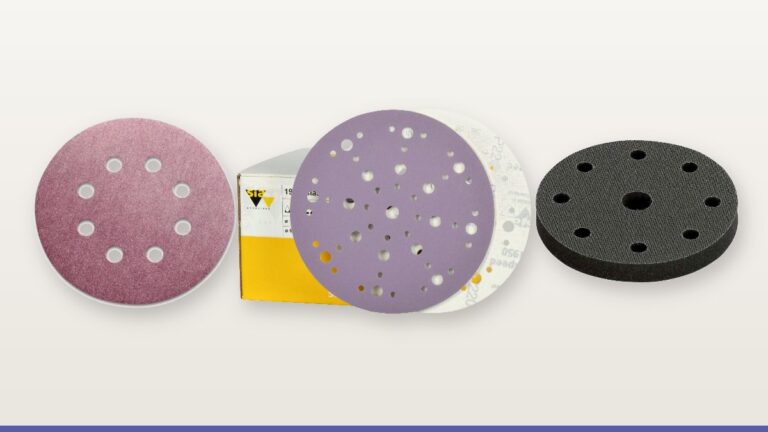
2. Wrong hole pattern. Festool 49-hole discs on a Mirka tool work fine. Multi-hole discs on a Festool tool don’t — you’ll lose dust extraction and the disc clogs in 5 minutes. Match the pattern.
3. Skipping grit steps. Covered above. Always.
4. Sanding through the grit you’ll regret. Going to 320+ on bare wood. Going to 600+ on bare metal you’re going to weld. The next process step needs the right surface, not the smoothest possible surface.
Sanding grit standards: CAMI vs. FEPA (P-grades)
There are two common sanding grit scales. North American abrasives often use the CAMI scale, a plain number such as 220. European brands, including Sia Abrasives and VSM, use the FEPA scale, marked with a P, such as P220.
In the coarse and medium range the two scales line up closely, so CAMI 120 and P120 are about the same. Above roughly 220 they drift apart, and a P-grade number is higher than the CAMI number for a similar scratch. That matters when you compare a fine sanding grit across brands.
| CAMI grit | Approximate FEPA grit |
|---|---|
| 120 | P120 |
| 180 | P180 |
| 220 | P220 |
| 240 | P280 |
| 280 | P360 |
| 320 | P400 |
| 360 | P500 |
| 400 | P800 |
| 500 | P1000 |
| 600 | P1200 |
Use the table as a rough guide only. Different makers grade slightly differently, so if you are changing brands partway through a grit ladder, test on scrap first.
A practical tip when you buy across brands: write the grading system on the box or the shelf label, not just the number. A shop that keeps CAMI 400 sheets next to P400 discs will eventually grab the wrong one and wonder why the finish looks different. Keeping each sanding grit ladder in one brand, or at least one scale, avoids that.
Sanding grit by tool
The tool you use changes where you start on the sanding grit ladder. A machine that removes material fast can start finer than hand sanding, and the reverse.
- Drum and floor sanders: start very coarse (24 to 36) for refinishing floors and step through to around 100.
- Belt sanders: 40 to 80 for flattening and stock removal, up to 120 to 150 before switching to an orbital.
- Random orbital sanders: 80 to 220 for wood and up to 1500 or more for paint and clear coat. This is where most of the sanding grit ladder gets used.
- Angle grinders with flap or fibre discs: 24 to 80 for weld removal and blending, 120 for a cleaner surface before non-woven finishing.
- Hand sanding: start one step finer than you would with a machine, because hand sanding removes less material per pass.
How long to sand at each grit
The goal at each sanding grit is to remove the scratches from the previous one, nothing more. Once they are gone, move on. Sanding longer only wears the disc and can round over edges.
A simple way to check is the pencil trick. Draw light pencil lines across the surface before you start each grit. When the lines are completely gone, the scratches from the last grit are usually gone too. Under a raking light, any deeper scratches will still show as lines going in a different direction.
Change the disc when it stops cutting, not when it is worn through. A dull disc leaves a polished, uneven surface, makes heat, and takes longer than a fresh one.
Abrasive grain and sanding grit
The same sanding grit can cut very differently depending on the grain it is made from:
- Aluminum oxide is the all-round grain for wood, primer, filler and general metal work.
- Ceramic grain is tougher and keeps fracturing into new sharp edges, so it lasts longer under pressure on hard metals and in heavy stock removal.
- Silicon carbide is very sharp and is often used on finer papers for paint, lacquer and wet sanding.
- Stearate coatings on many fine discs reduce loading on paint, primer and filler, so the disc keeps cutting instead of clogging.
Wet sanding grit
Wet sanding uses water or a lubricant to carry away the dust and keep the abrasive from clogging. It is mostly used at the fine end of the sanding grit range, around 400 and up, on paint, clear coat and lacquer. Use paper or film that is made for wet use, such as latex-backed sheets and foam discs, and never use water with a power tool unless the tool is made for it.
Sanding grit options we stock
Our Sia abrasives range covers the full sanding grit ladder, from 24 grit fibre discs to 4000 grit foam discs. A few starting points:
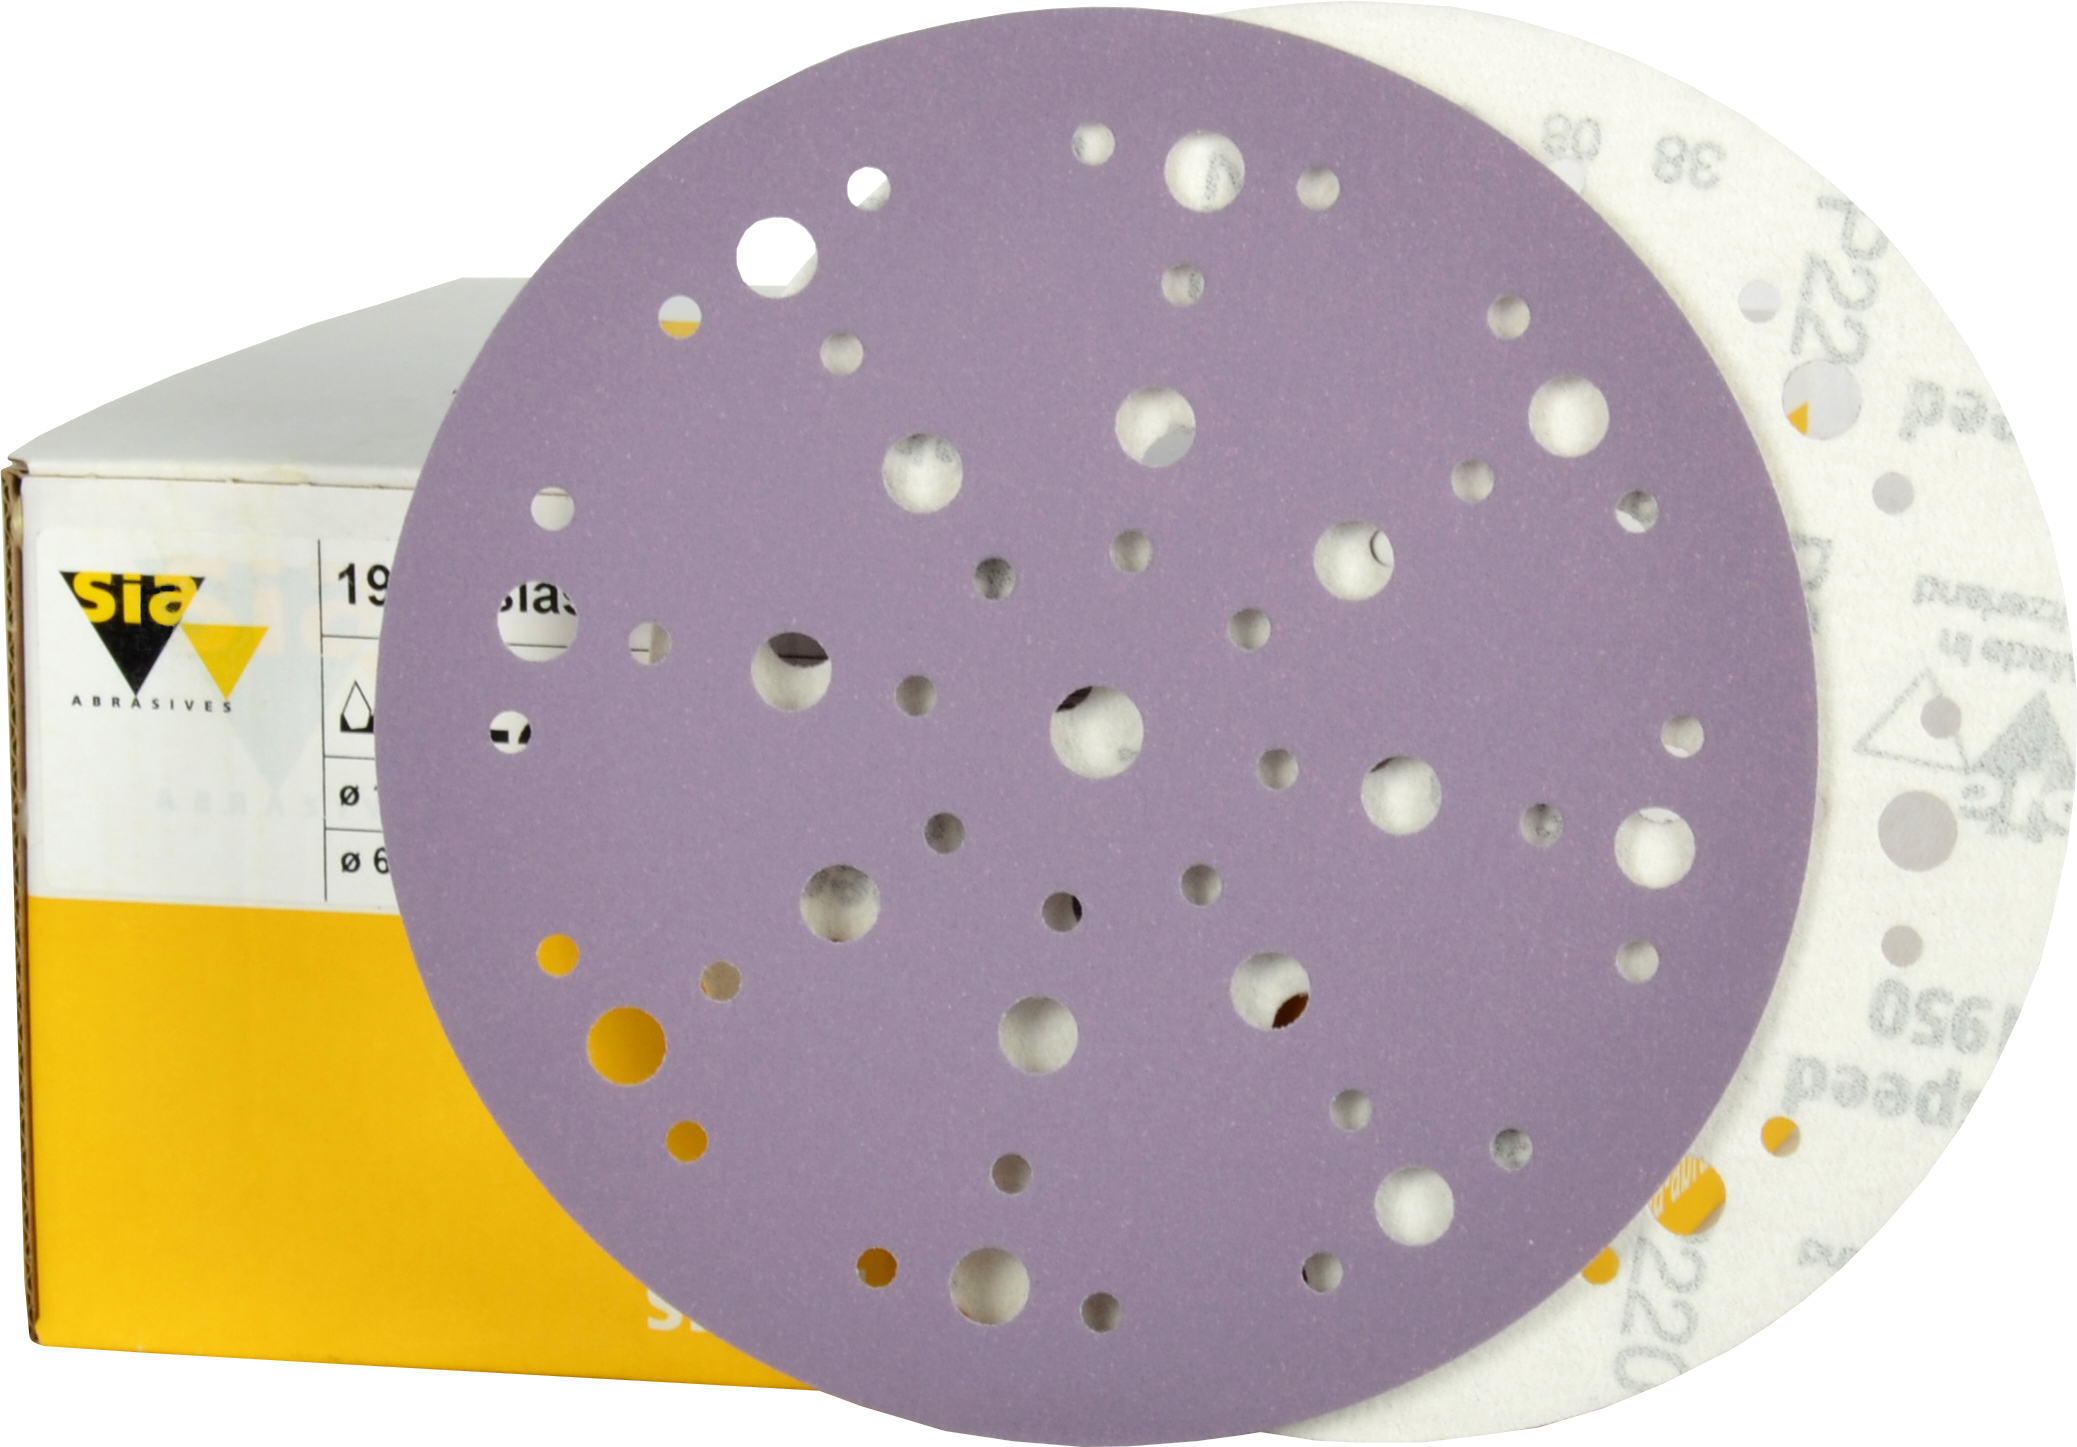

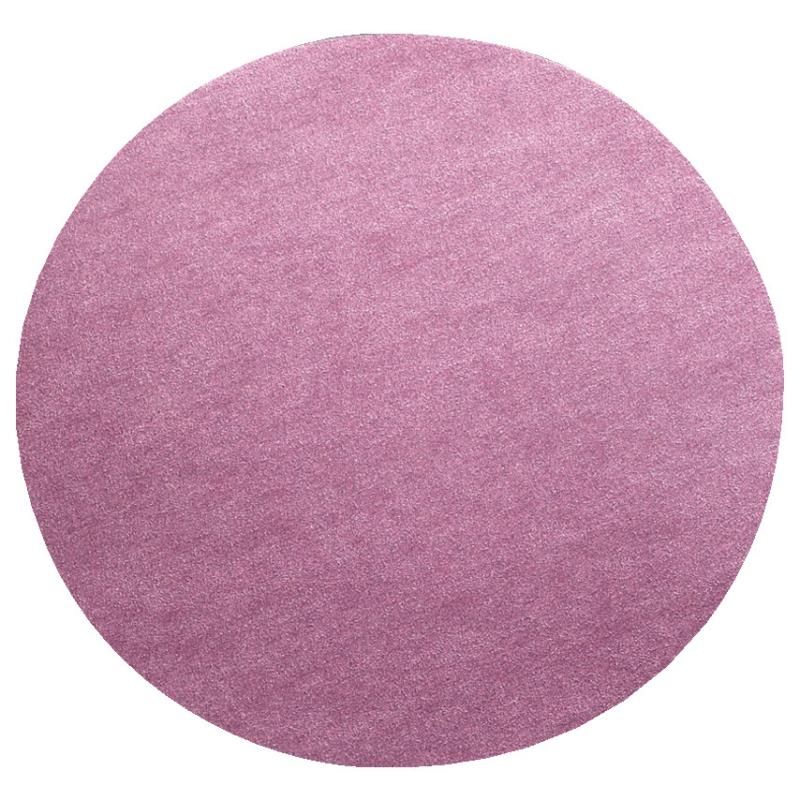
- Wood, 80 to 320: 6-inch Siaspeed 49-hole discs for Festool sanders and 5-inch Siaspeed 8-hole discs for most other 5-inch sanders.
- Paint and clear coat, 400 to 1500: 6-inch ultra-fine discs and 5-inch ultra-fine discs.
- Matte finishing, up to 4000: foam-backed discs and Siacarat.
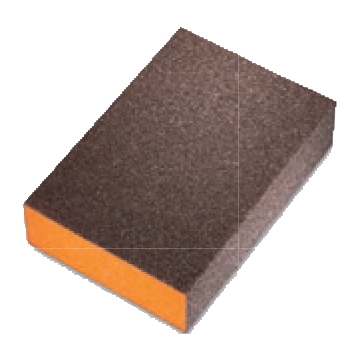
- Hand sanding and profiles: Siasponge blocks and pads.
- Weld grinding, 24 to 120: VSM ceramic fibre discs and flap discs.
Quick-reference grit selector
For the most common scenarios:
| If you’re… | Start with | End with | Skip these |
|---|---|---|---|
| Refinishing hardwood floors | 36 (drum) | 100 (orbital) | 60, 80 |
| Furniture pre-stain | 80 | 220 | 100, 150, 180 |
| Auto-body filler | 80 | 320 | — |
| Stainless satin finish | 80 | Non-woven very-fine | use non-woven for last 2 steps |
| Drywall joints | 180 | 180 | single-step |
| Color-sanding clear | 1000 | 1500 | — |
Stock the ladder you actually use
The cheapest way to keep a shop running is to have the four to six grits you actually use always in stock. We see shops chronically run out of one specific grit, and the production line idles while someone drives across town to a hardware store. The fix is simple: know which sanding grit you use most, keep a spare box of each on the shelf, and reorder before the last box is opened. If you are not sure what your shop goes through, ask us and we will help you work it out.
The most common sanding grit ladder we see is 80, 120, 180, 220 and 320. If that is your default, those are the five boxes to keep stocked.
Sanding grit questions we get most
What sanding grit removes paint?
Start at 40 to 80 grit to cut through the paint without wasting time, then step up through 120 and 180 to smooth the surface before you refinish. On a large flat area, a belt sander or a random orbital with a coarse disc is faster than hand sanding. Check for lead paint on older work before sanding anything.
What sanding grit should I use before stain?
On bare wood, finish at 180 or 220. Going finer can close up the surface so stain absorbs unevenly. Some dense hardwoods take stain better at 180 than 220, so test on a scrap from the same board.
What grit should I use between coats of finish?
A light scuff at 320 or 400 is usually enough to knock down dust nibs and give the next coat something to grip. Keep the pressure light and stop as soon as the surface feels smooth.
Is a higher sanding grit always better?
No. The right sanding grit is the one that leaves the surface the next step needs. Paint and primer need some scratch to grip, stain needs open pores, and welding needs clean metal rather than a polished one. Going finer than you need costs time and abrasive.
Can I go straight from 80 to 220?
You will usually see the 80-grit scratches through the finish. Step through 120 and 180 first. It feels slower, but each step is quick when the previous scratches are shallow, so the job is faster overall.
Why does my disc clog so fast?
Loading happens when dust or softened material fills the gaps between grains. Common causes are sanding soft finishes or filler with a coarse grit, poor dust extraction, a hole pattern that does not match the pad, and too much pressure. A stearate-coated disc, a good extractor and lighter pressure all help.
Do you sell every sanding grit in every size?
Not every combination, but our catalog covers the common ladders in 5-inch and 6-inch discs, sheets, rolls and belts. If you need a size or sanding grit you cannot find, send us the details and we will confirm availability and lead time.
Talk it through
If you’re spec’ing abrasives for a new line of work and you want a second opinion before you commit to a grit progression that might not fit, give us a call. We’ll help you get to the right answer faster than a forum thread.
Related guides: sanding disc hole patterns and hook and loop vs PSA discs.
Browse our full sanding catalog → Request a quote → Custom belt sizes →
Published April 28, 2026 by IBEX Enterprises — Calgary’s industrial abrasives supplier. Updated as our customers’ workflows evolve.
Great content! Keep up the good work!